Install Quake 3 Server Using Docker Compose
This article is for those looking for a detailed and straightforward guide on installing Quake 3 Server using Docker Compose.
QuakeJS is a project that allows you to play Quake 3 in your browser using WebGL technology for graphics rendering. This makes QuakeJS an ideal choice for those who want to quickly set up a gaming server without the need to install additional software.
💾 You can find the repository used in this guide on GitHub.
❗ You will need A-type records in the external DNS zone, which point to the IP address of your server where Quake 3 Server is installed. If you have created these records recently, you should wait before starting the installation of the services. Full replication of these records between DNS servers can take from a few minutes to 48 hours or even longer in rare cases.
❗ Alternatively, you can use the public static IP address of your server to connect directly.
In this guide, we will consider the case where you already have a server with Ubuntu Server 22.04 LTS installed on it.
You can find detailed information on how to install Ubuntu Server 22.04 LTS in my guide “Install Ubuntu Server 22.04 LTS”.
Docker Engine and Docker Compose must also be installed on the server.
You can learn how to install Docker Engine on Ubuntu Server by reading Install Docker Engine and Docker Compose on Ubuntu Server”.
In addition, OpenSSH must be installed on the server, and port 22 must be open in order to be able to connect to the server using the SSH protocol.
To install OpenSSH on the server you can use the command:
sudo apt install openssh-serverIf you plan to connect to the server using the Windows operating system, you can use PuTTY or MobaXterm.
This guide covers connecting to the server using the terminal emulator iTerm2, installed on the macOS operating system.
💡 Please note, you will need to open the following TCP ports for access to the services:
- TCP port 80 - for accessing Quake 3 via the web interface.
- TCP port 27960 - for Quake 3 gaming servers, used for connecting clients to the server.
We connect to the server on which Quake 3 Server is planned to be installed.
Next, you need to clone the repository that contains the configuration files, which include all the necessary conditions for Quake 3 Server to work.
You can clone the repository using the command:
git clone https://github.com/heyvaldemar/quake3-server-docker-compose.git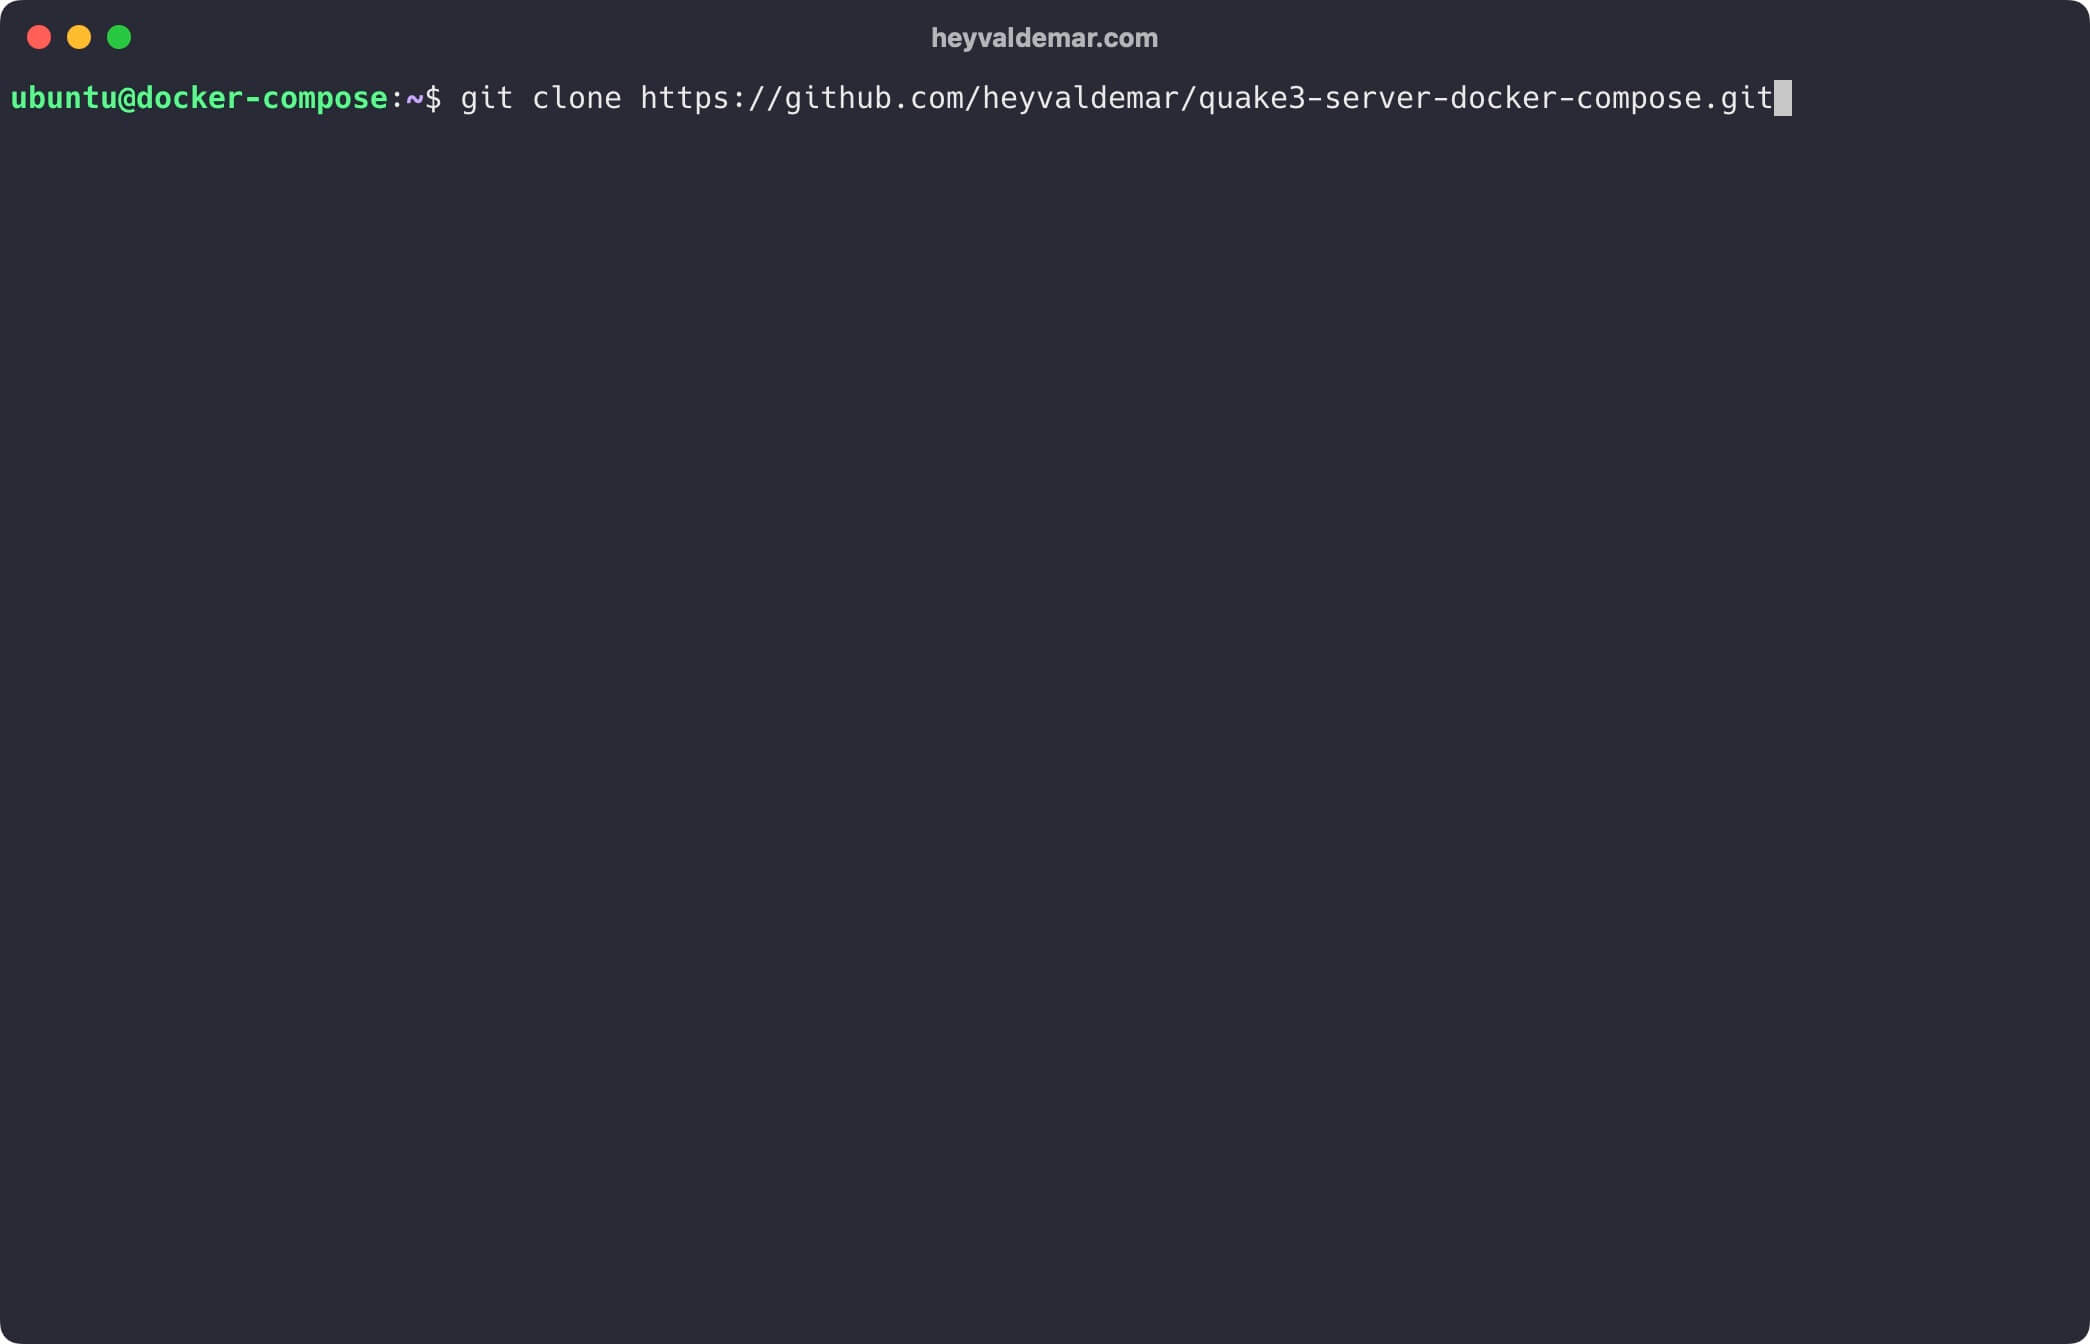
Navigate to the directory with the repository using the command:
cd quake3-server-docker-compose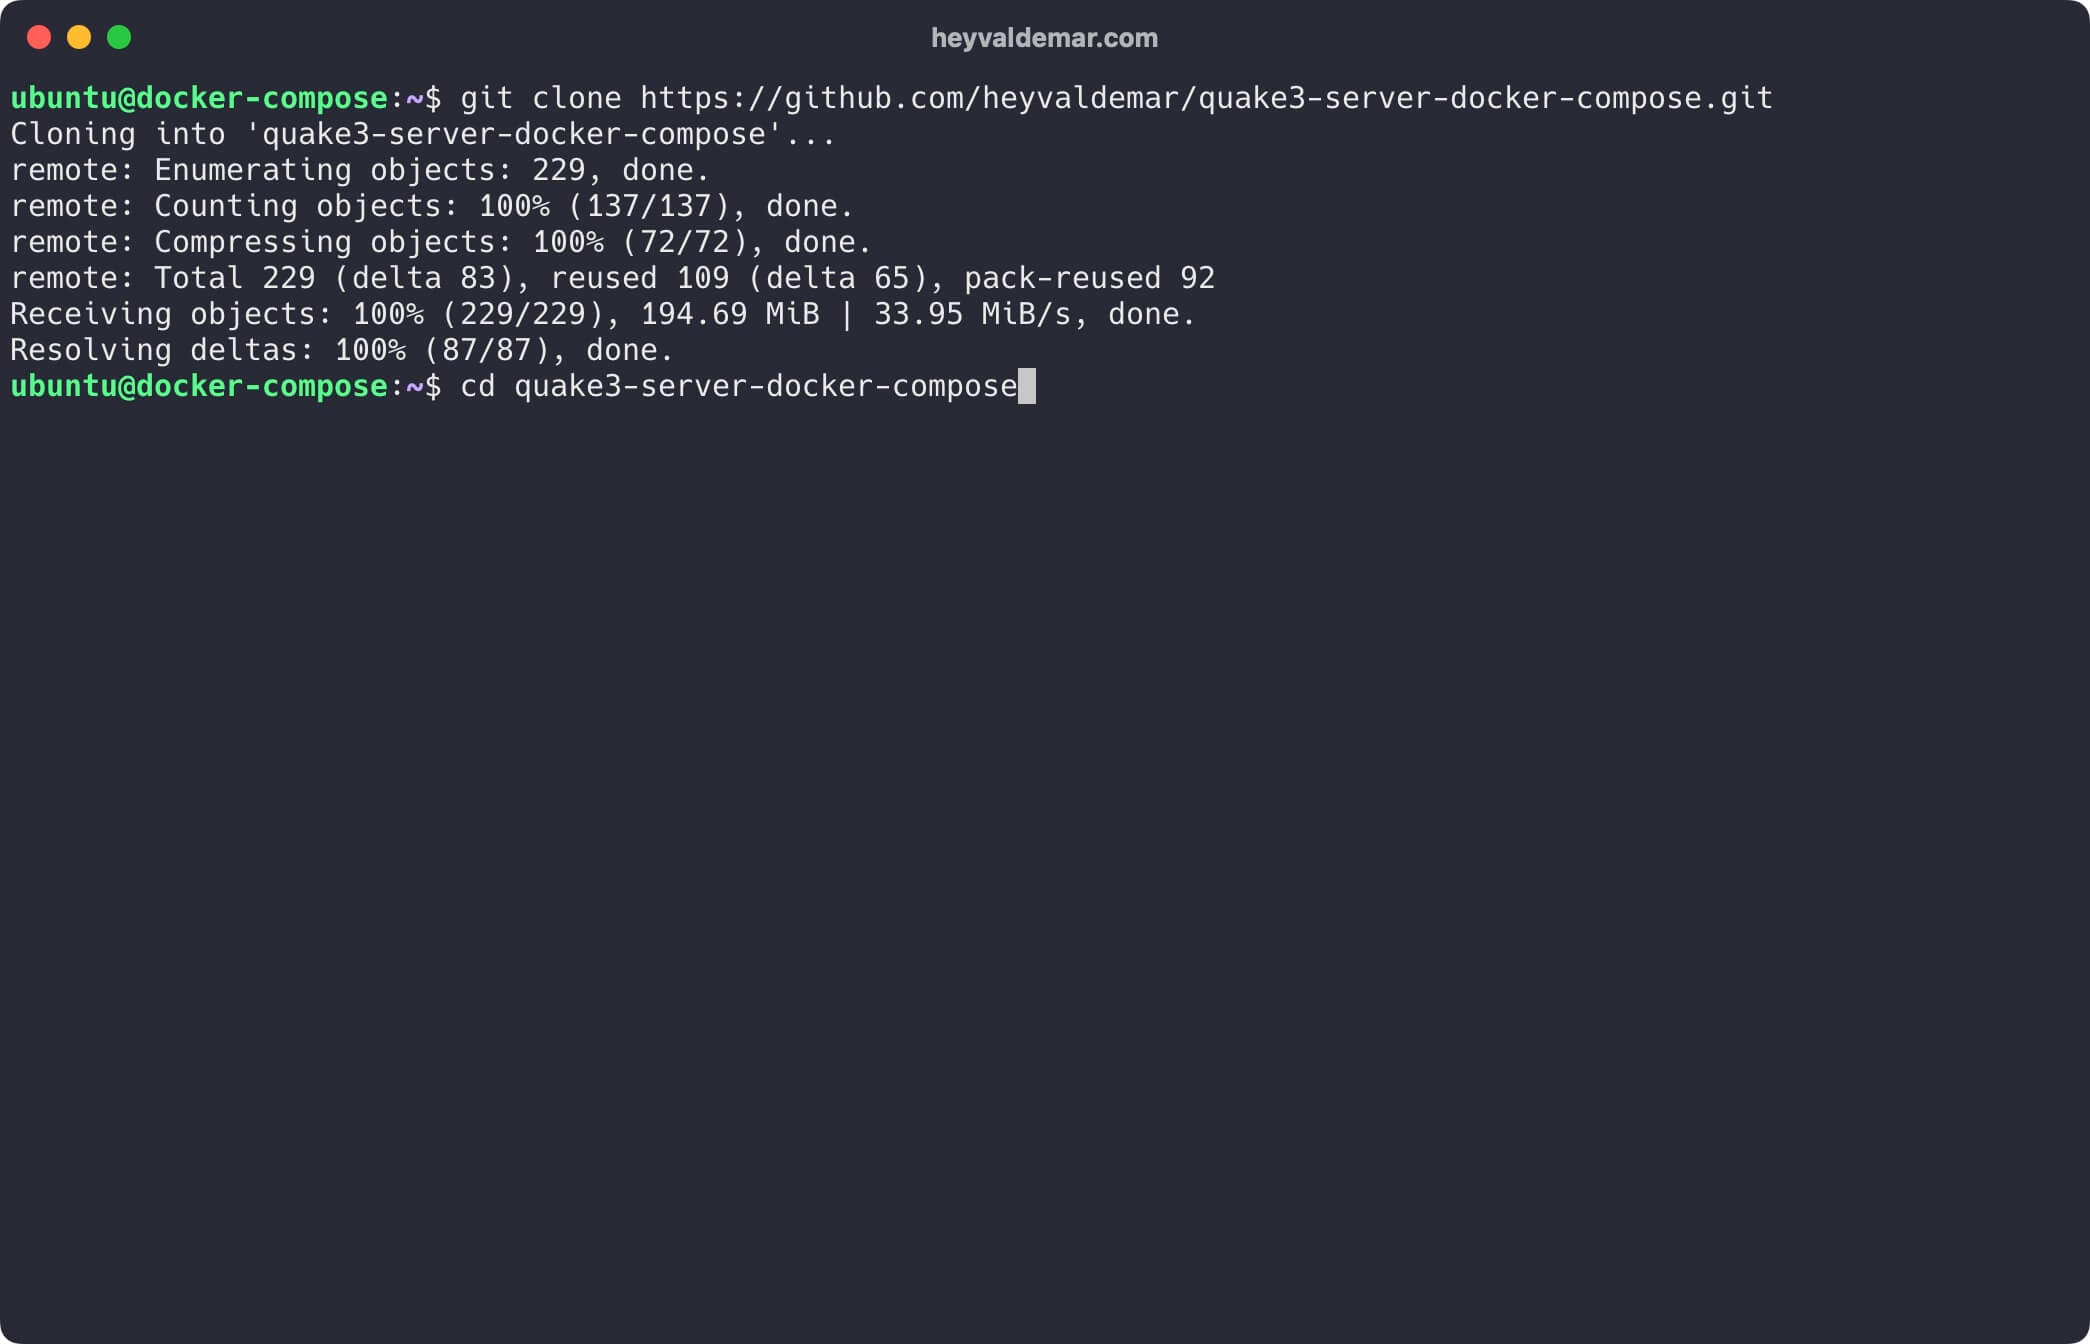
Next, you need to change the variables in the .env and server.cfg file according to your requirements.
💡 Note that the .env and server.cfg file should be in the same directory as quake3-server-docker-compose.yml.
Now let’s start Quake 3 Server with the command:
docker compose -f quake3-server-docker-compose.yml -p quake3-server up -d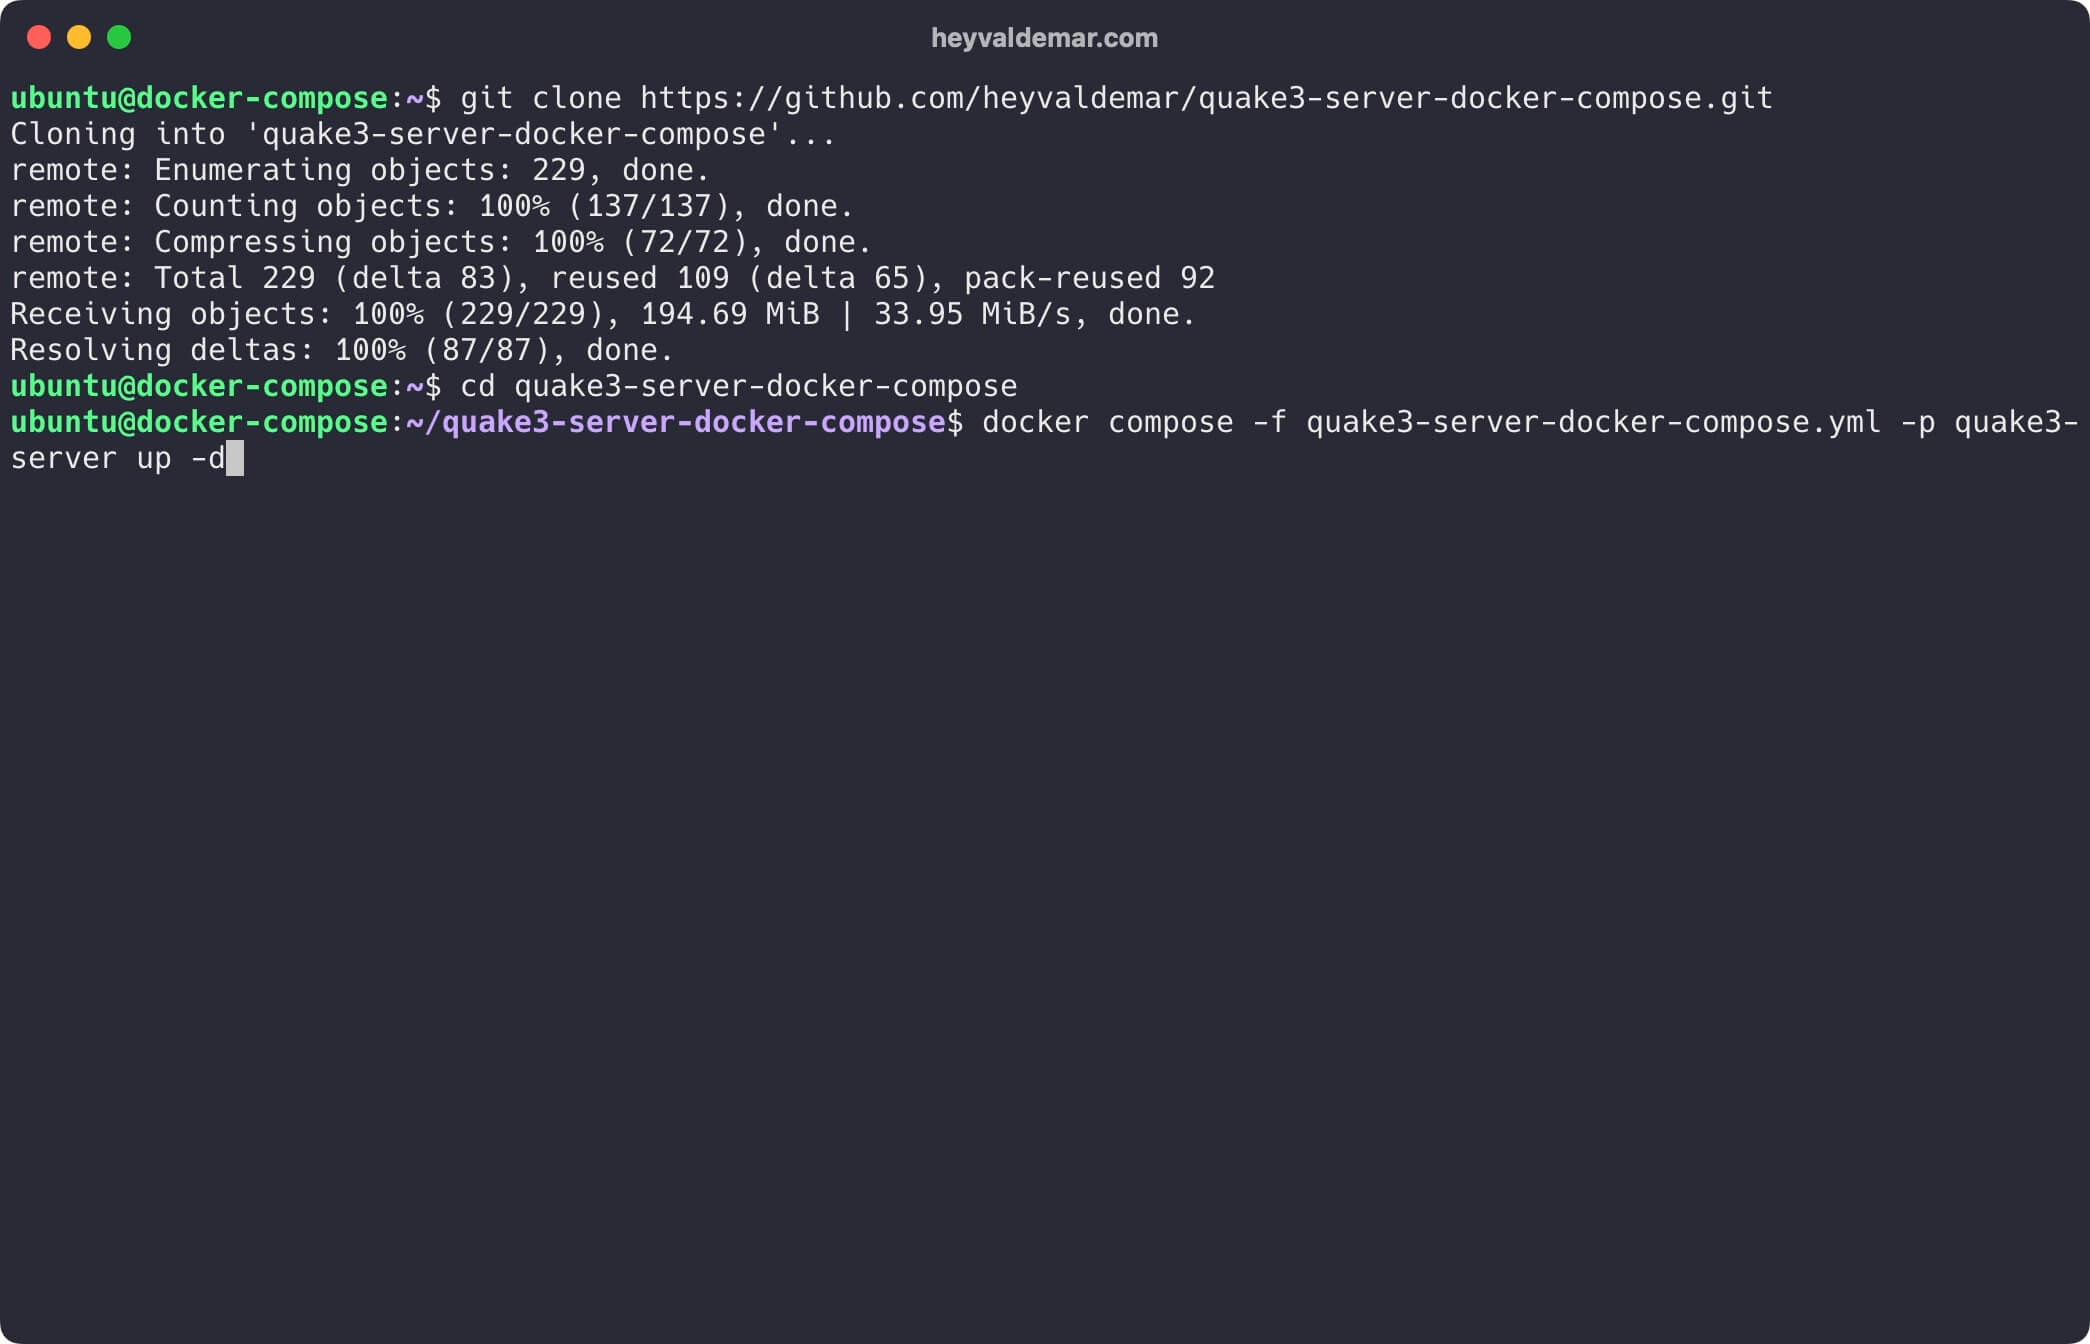
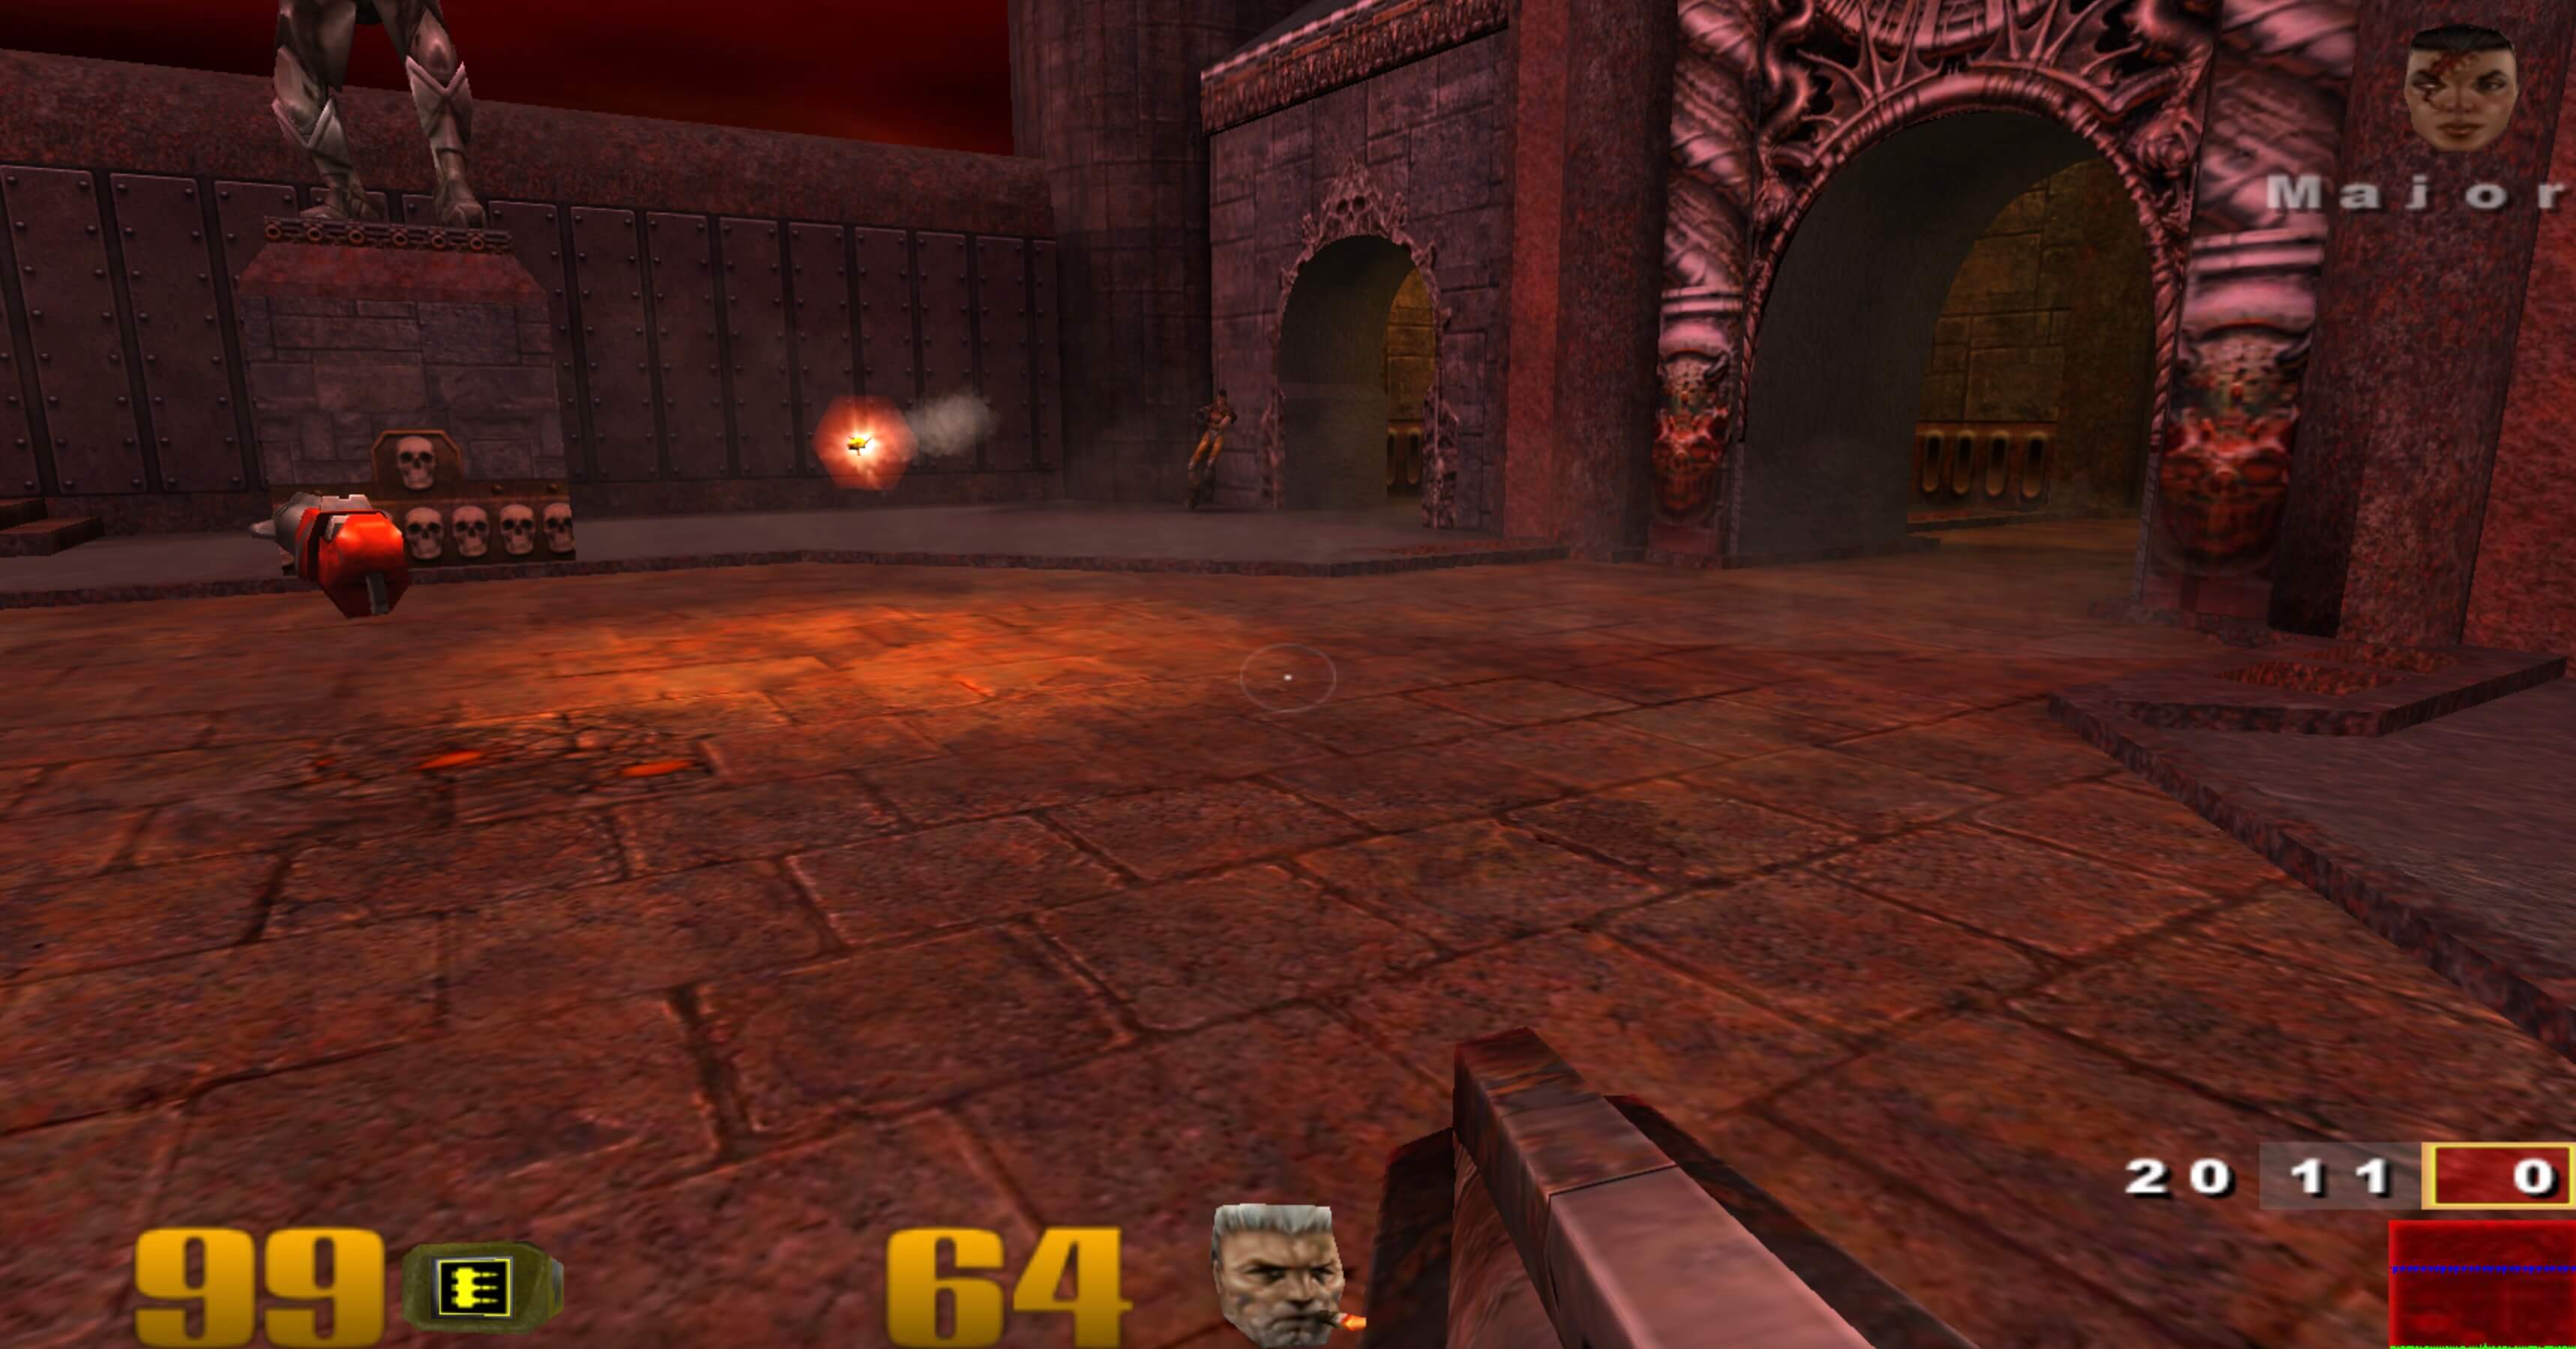
To access the Quake 3, go to http://quake3.heyvaldemar.net from your workstation, where quake3.heyvaldemar.net is the domain name of my service. Accordingly, you will need to specify the name or IP address of your server where Quake 3 Server is installed.
Click on the “I agree” button if you accept the terms of the license agreement.

I wish you all a pleasant game!
To connect to your Quake 3 Server, enter its domain name in the game client. This name should resolve to the IP address of the server where Quake 3 Server is installed. Alternatively, you can use the server’s public static IP address for a direct connection.
❗ If you are using a domain name, ensure that the A records in your DNS zone are correctly set up to point to this IP. If the records were created recently, it is recommended to wait before starting to use the services. The propagation of DNS records can take anywhere from a few minutes to 48 hours or more.
To apply new settings in the server.cfg file of your Quake 3 server, execute the following command. This will restart the Docker container hosting the server, which is necessary to activate the configuration changes.
QUAKE3_SERVER_CONTAINER=$(docker ps -aqf "name=quake3-server-quake3-server") \
&& docker container restart $QUAKE3_SERVER_CONTAINER
After running this command, all the changes you made in the configuration file will be applied, and the server will restart with the new settings. This ensures a quick and convenient update of settings without the need for a complete server shutdown.
My Services
💼 Take a look at my service catalog and find out how we can make your technological life better. Whether it’s increasing the efficiency of your IT infrastructure, advancing your career, or expanding your technological horizons — I’m here to help you achieve your goals. From DevOps transformations to building gaming computers — let’s make your technology unparalleled!
Refill the Author’s Coffee Supplies
💖 PayPal
🏆 Patreon
💎 GitHub
🥤 BuyMeaCoffee
🍪 Ko-fi
