Install Wiki.js with Docker Compose
By Vladimir Mikhalev · Solutions Architect · Docker Captain · IBM Champion
This article is for those looking for a detailed and straightforward guide on installing Wiki.js with Docker Compose.
Wiki.js is a wiki engine running on Node.js and written in JavaScript. It is free software released under the Affero GNU General Public License.
TIPArchitecture Context
Choose self-hosted Wiki.js when you need a modern wiki with Markdown support, Git-backed storage, and no per-user licensing. Notion or Confluence Cloud provide managed alternatives with richer collaboration and lower maintenance. Self-hosting is justified when you need on-premises documentation with custom authentication, or when Git-based version control of documentation is an architectural requirement.
💾 You can find the repository used in this guide on GitHub.
NOTEWe’ll use Traefik as our reverse proxy. It’ll handle obtaining cryptographic certificates from Let’s Encrypt for your domain names and route requests to the corresponding services based on those domains.
IMPORTANTDocker Engine and Docker Compose must be installed on the server.
For a step-by-step guide on installing Docker Engine on Ubuntu Server, see Install Docker Engine and Docker Compose on Ubuntu Server
IMPORTANTOpenSSH must be installed on the server, and port 22 must be open to be able to connect to the server using the SSH protocol.
To install OpenSSH on a server, you can use the command:
sudo apt install openssh-serverNOTETo connect to the server from a Windows system, you can use tools like PuTTY or MobaXterm.
NOTEThis guide walks you through connecting to a server with the iTerm2 terminal emulator on macOS.
CAUTIONYou will need to open the following TCP ports for access to the services:
- TCP port 80 - to receive a free cryptographic certificate through the Let’s Encrypt CA.
- TCP port 443 - to access the Wiki.js web interface.
We connect to the server on which you plan to install Docker Compose.
Now you need to create a YAML configuration file that will contain all the necessary conditions for Docker Compose to work.
Let’s create a YAML configuration file using a text editor using the command:
vim wikijs-traefik-letsencrypt-docker-compose.yml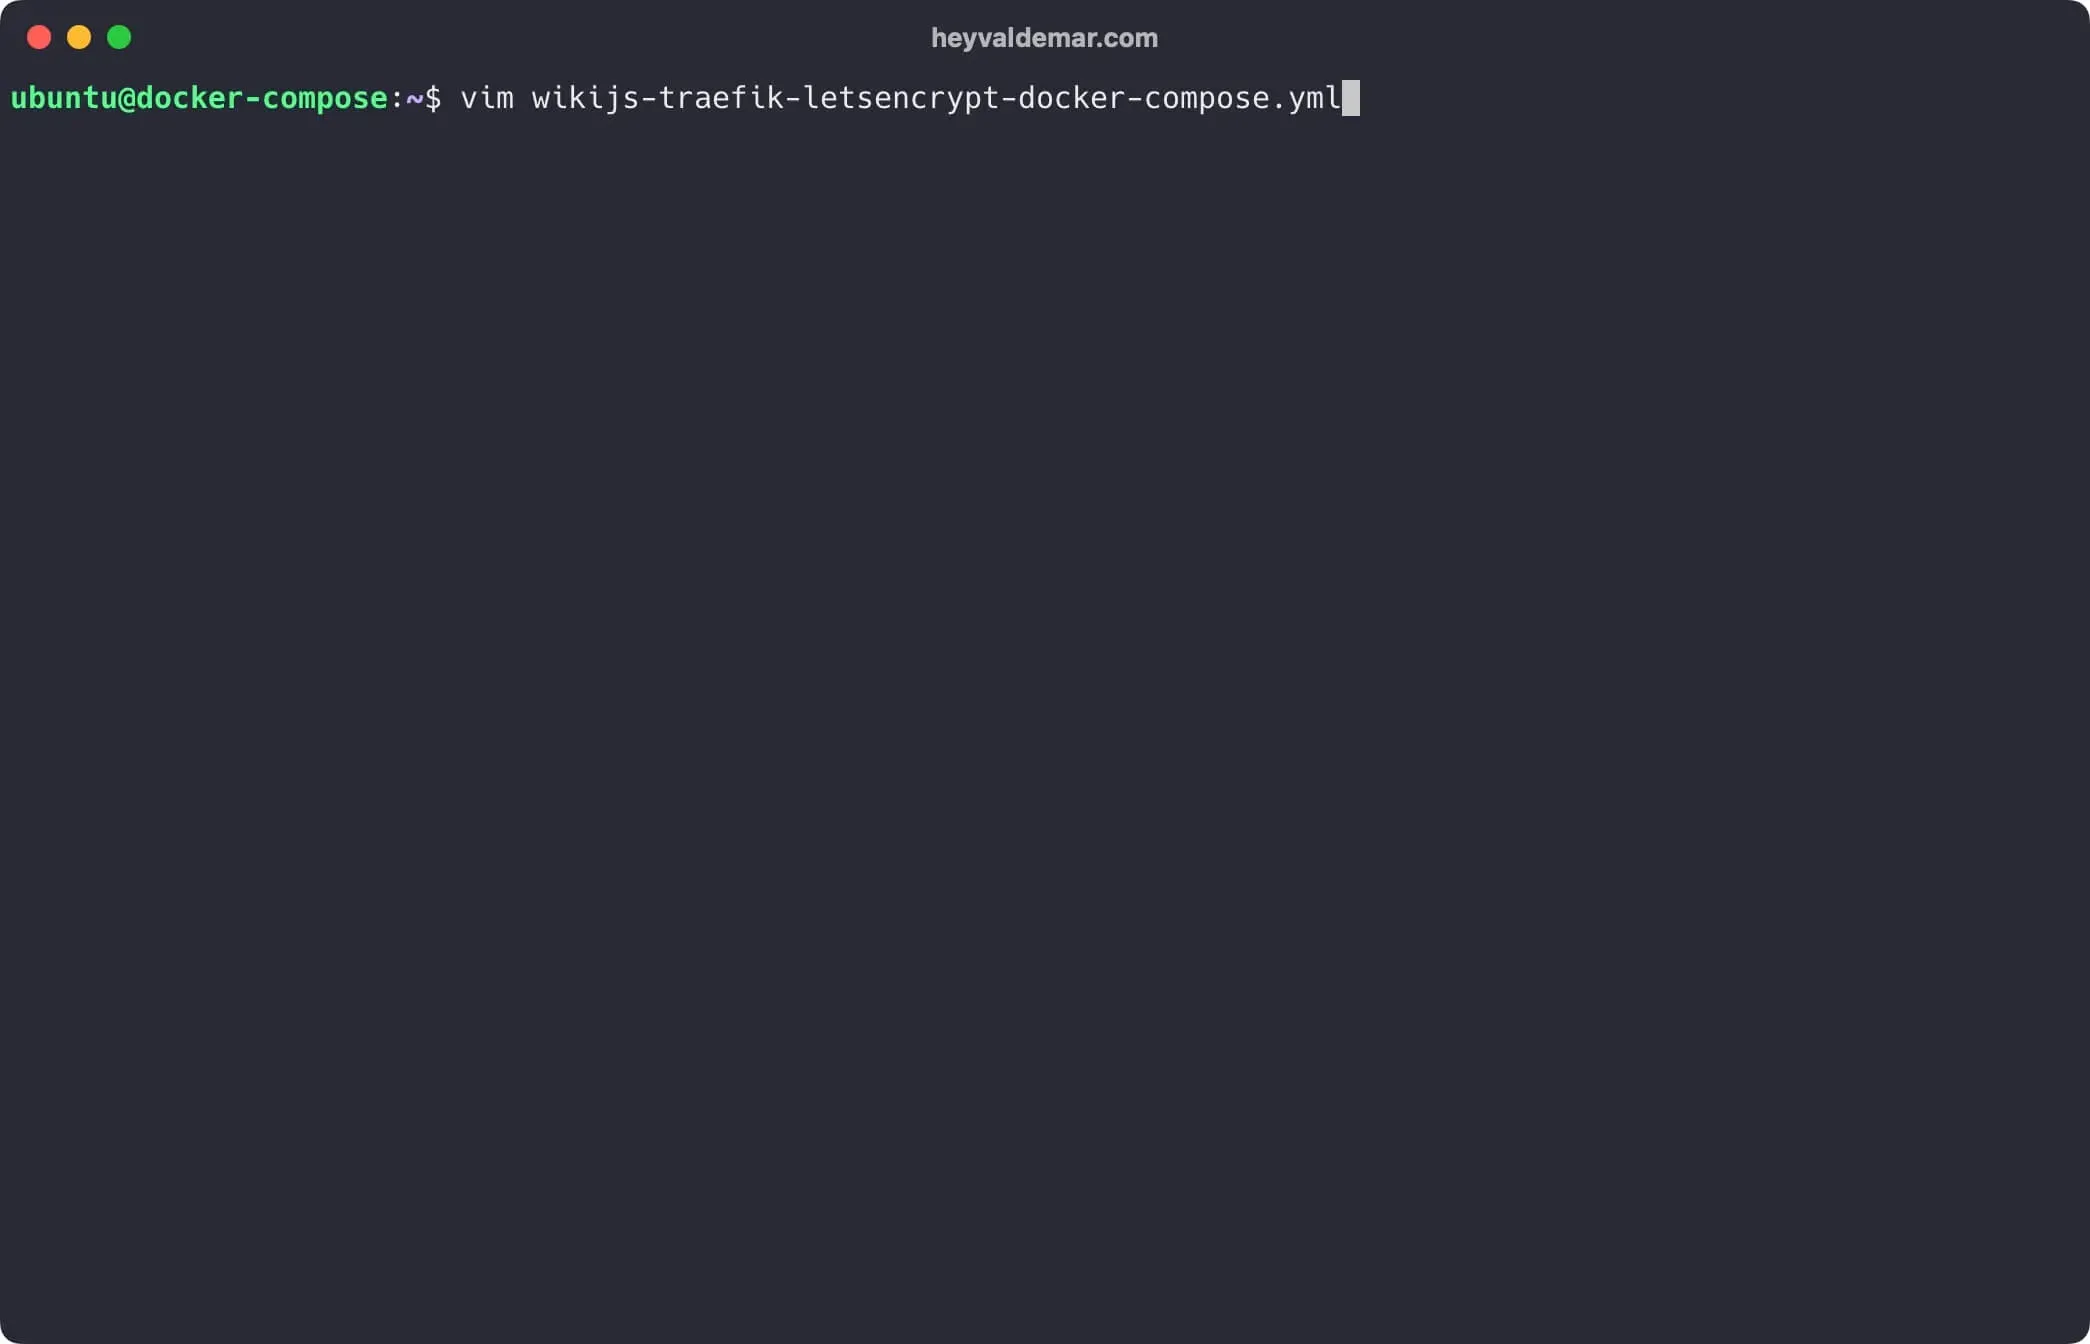
Hit the “i” button to go into edit mode, then insert the following configuration for Wiki.js to work.
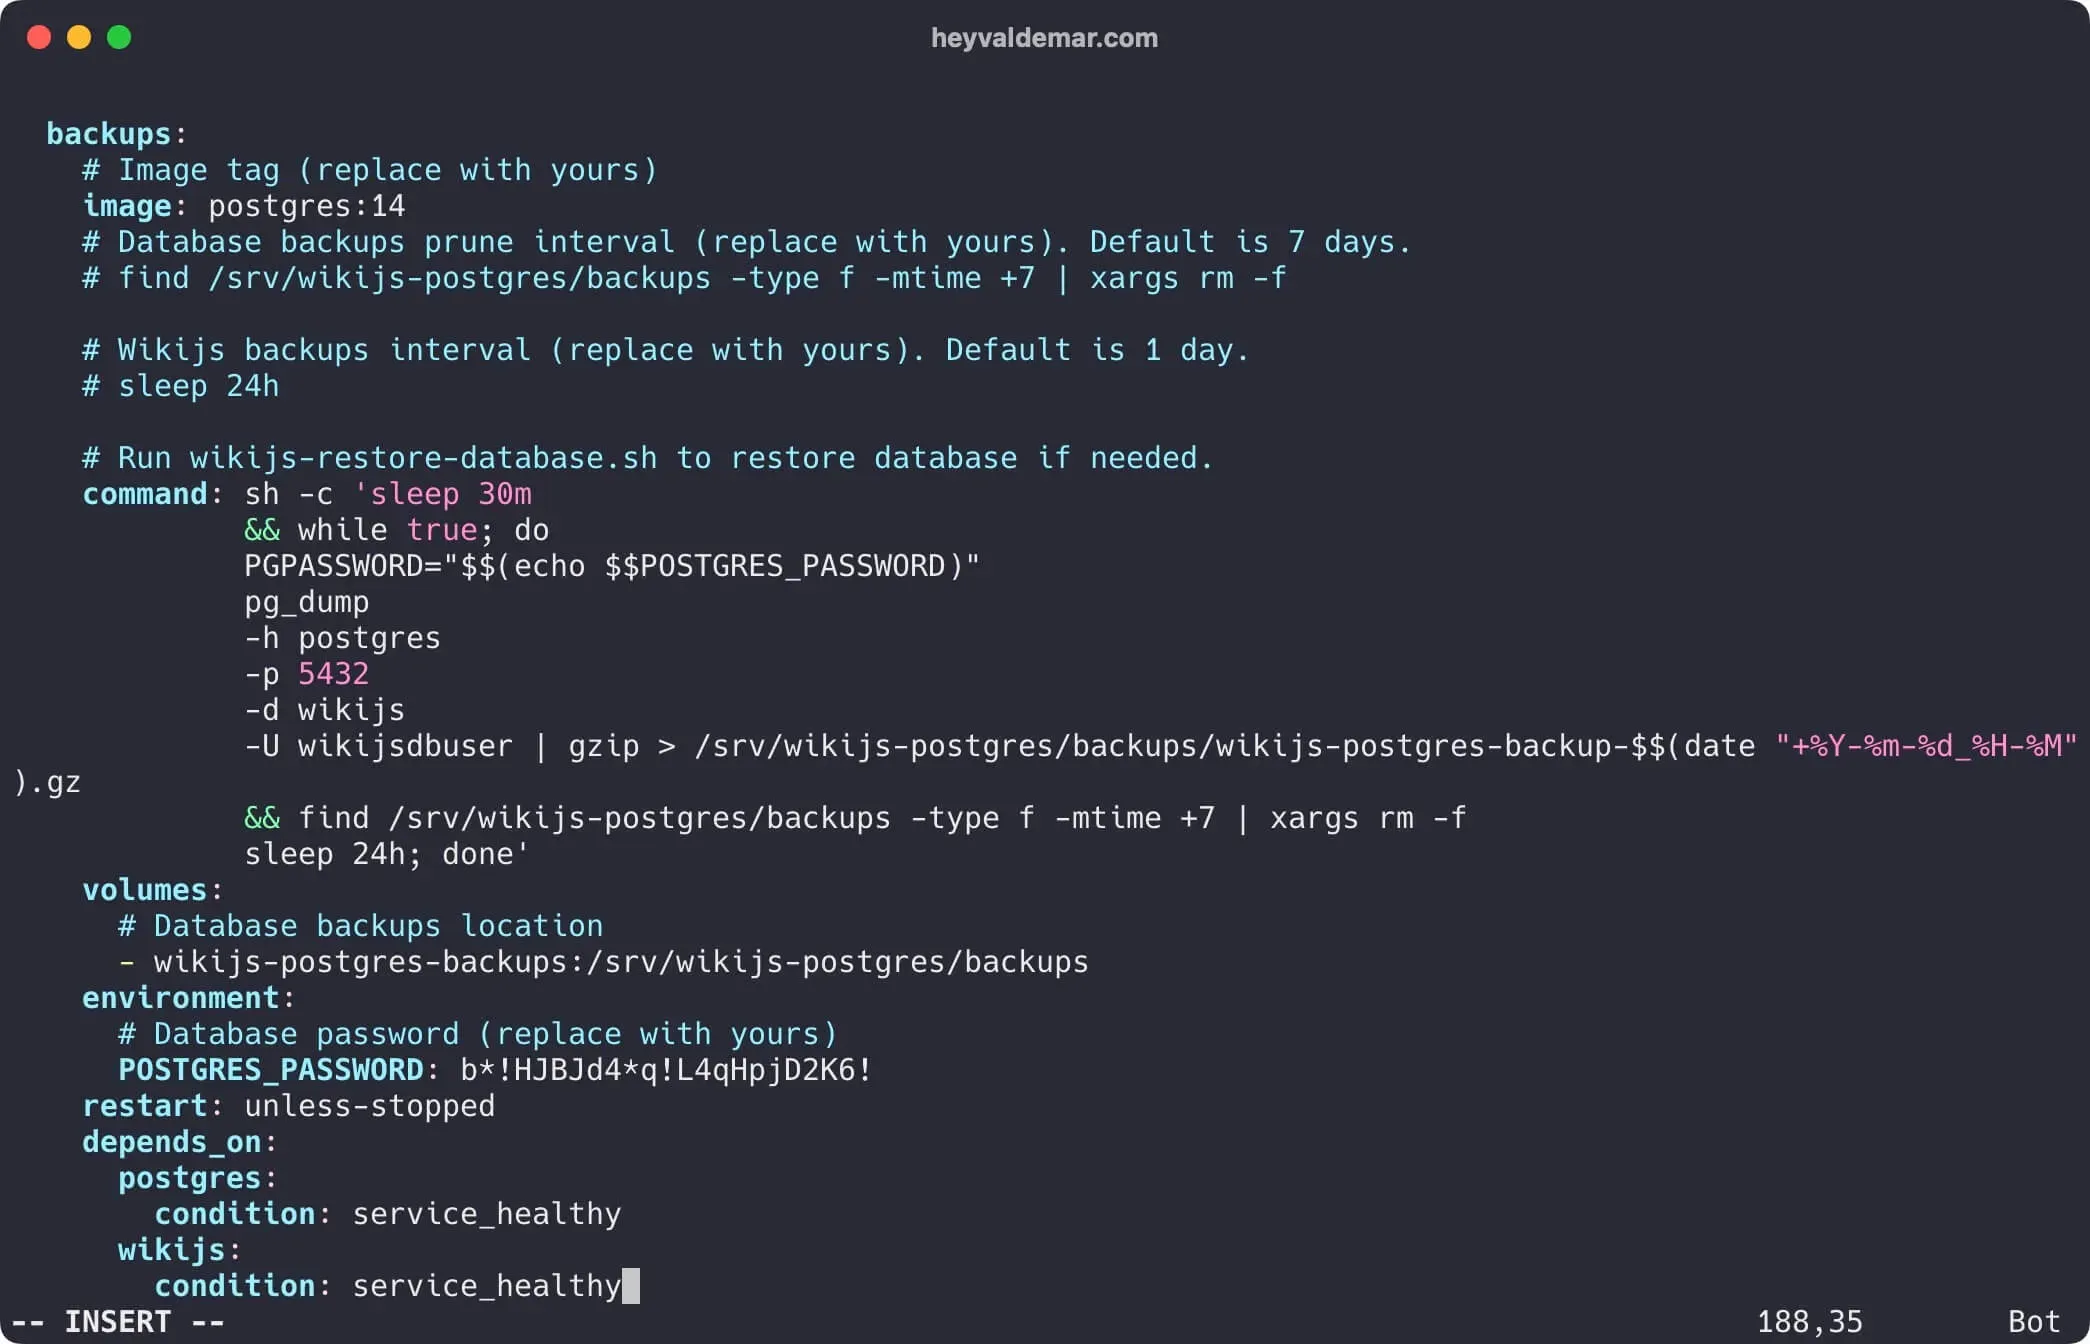
Next, you need to make changes to the configuration so that the contents of the file match your conditions. Parameters that need to be checked or changed are marked “(replace with yours)”.
NOTEIn this guide, the
wikijs.heyvaldemar.netsubdomain will be used to access Wiki.js from the Internet. You will need to specify your domain or subdomain by which your Wiki.js will be accessible from the Internet.
NOTEIn this guide, Postgres will be used as a database management system, and Traefik will be used as a reverse proxy.
In the traefik.http.middlewares.authtraefik.basicauth.users parameter, you must specify the username and password hash to access the Traefik dashboard.
You can use this service to get the password hash.
Now press the “Esc” button to exit edit mode, then type "
Now let’s start Wiki.js with the command:
docker compose -f wikijs-traefik-letsencrypt-docker-compose.yml -p wikijs up -d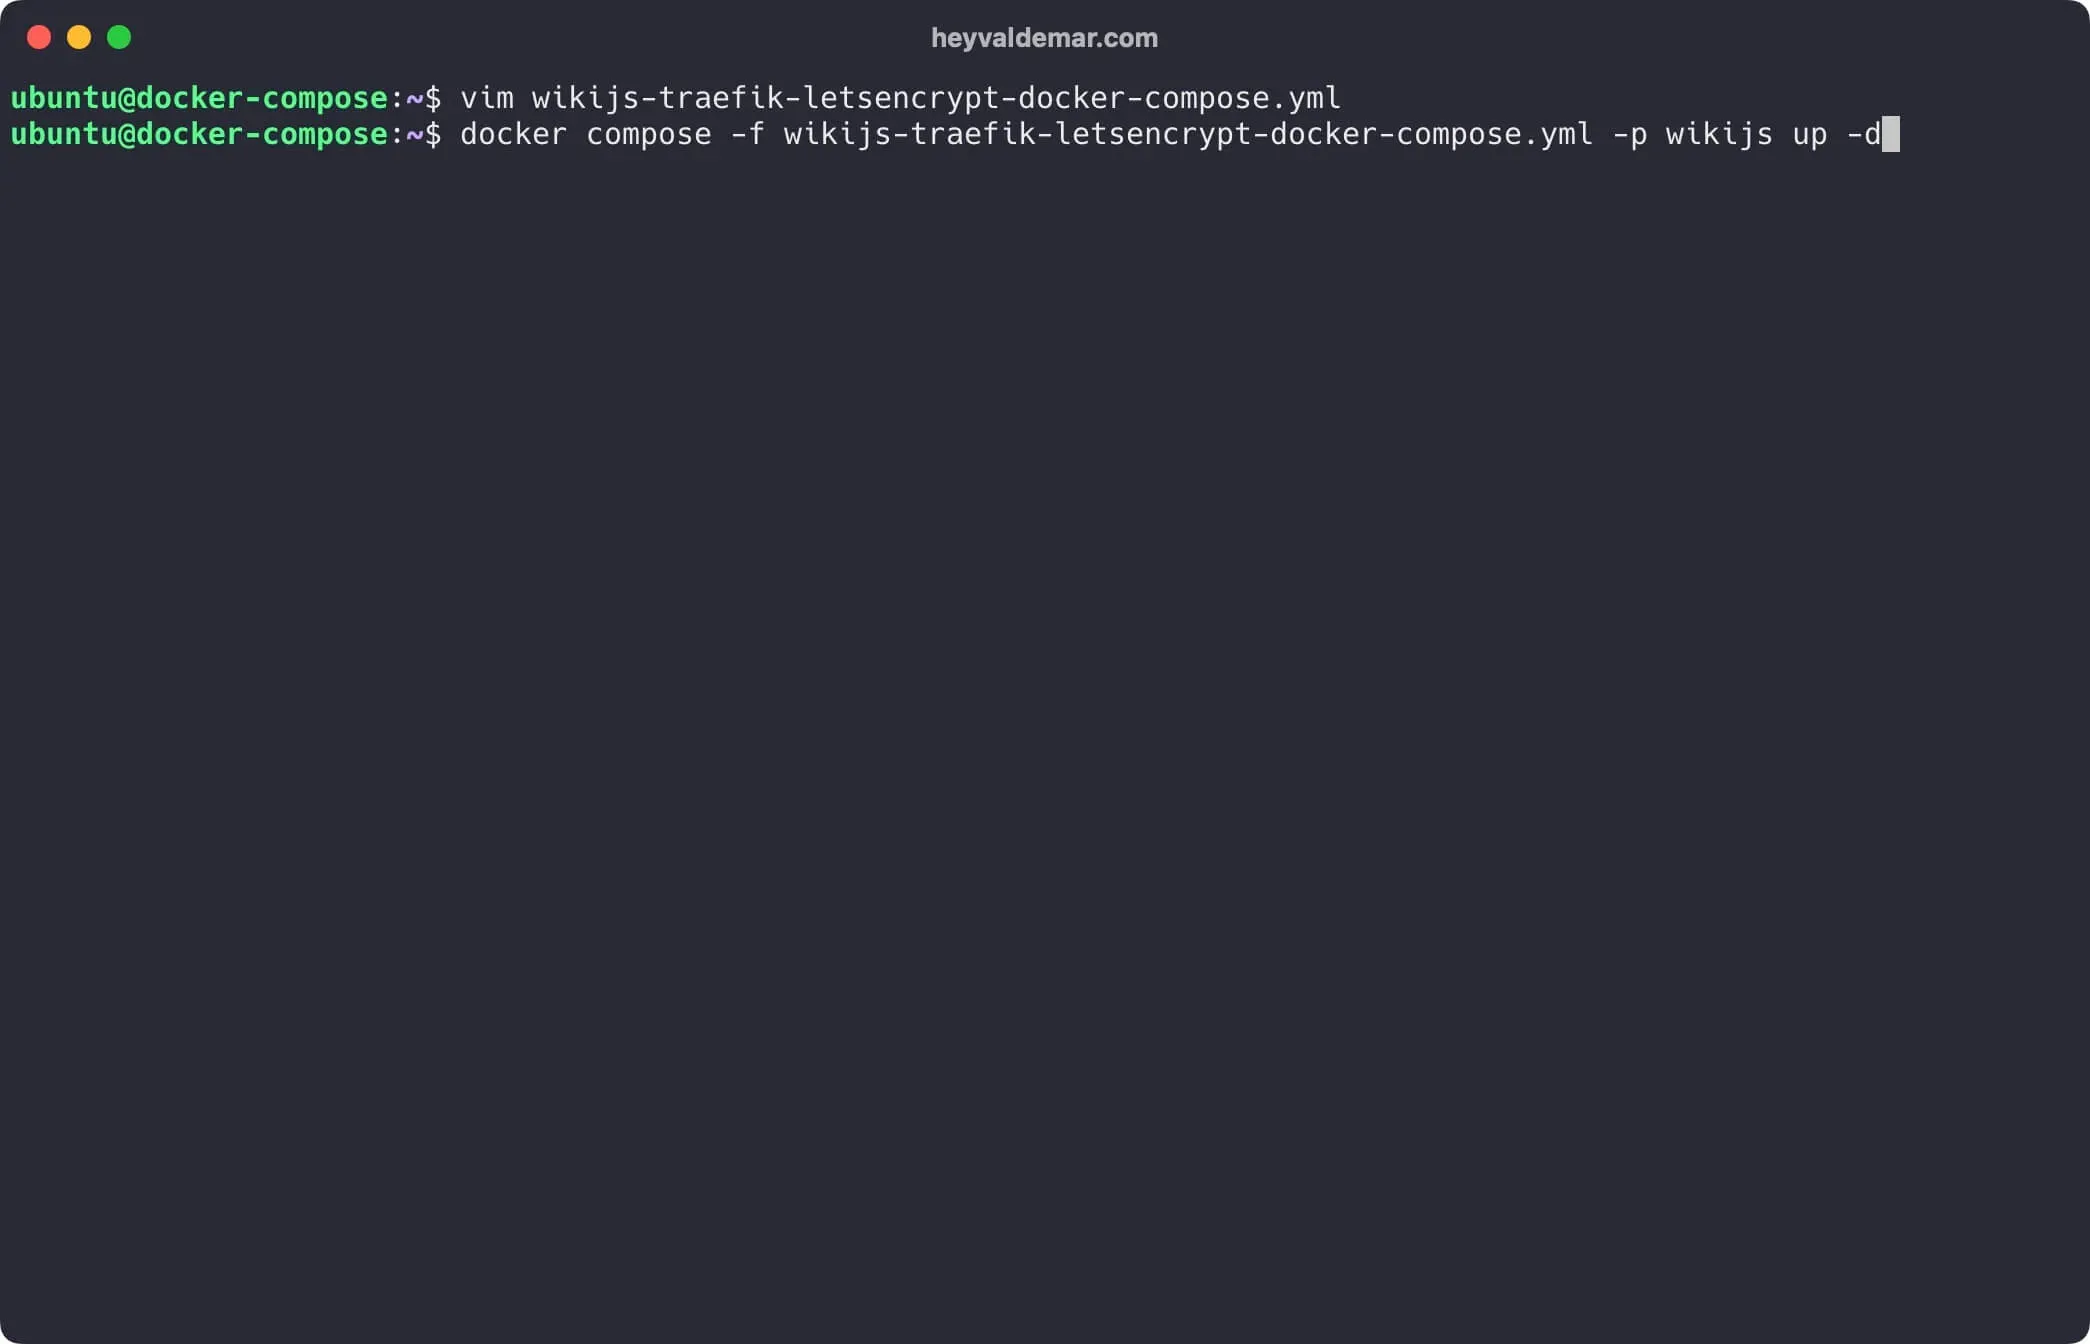
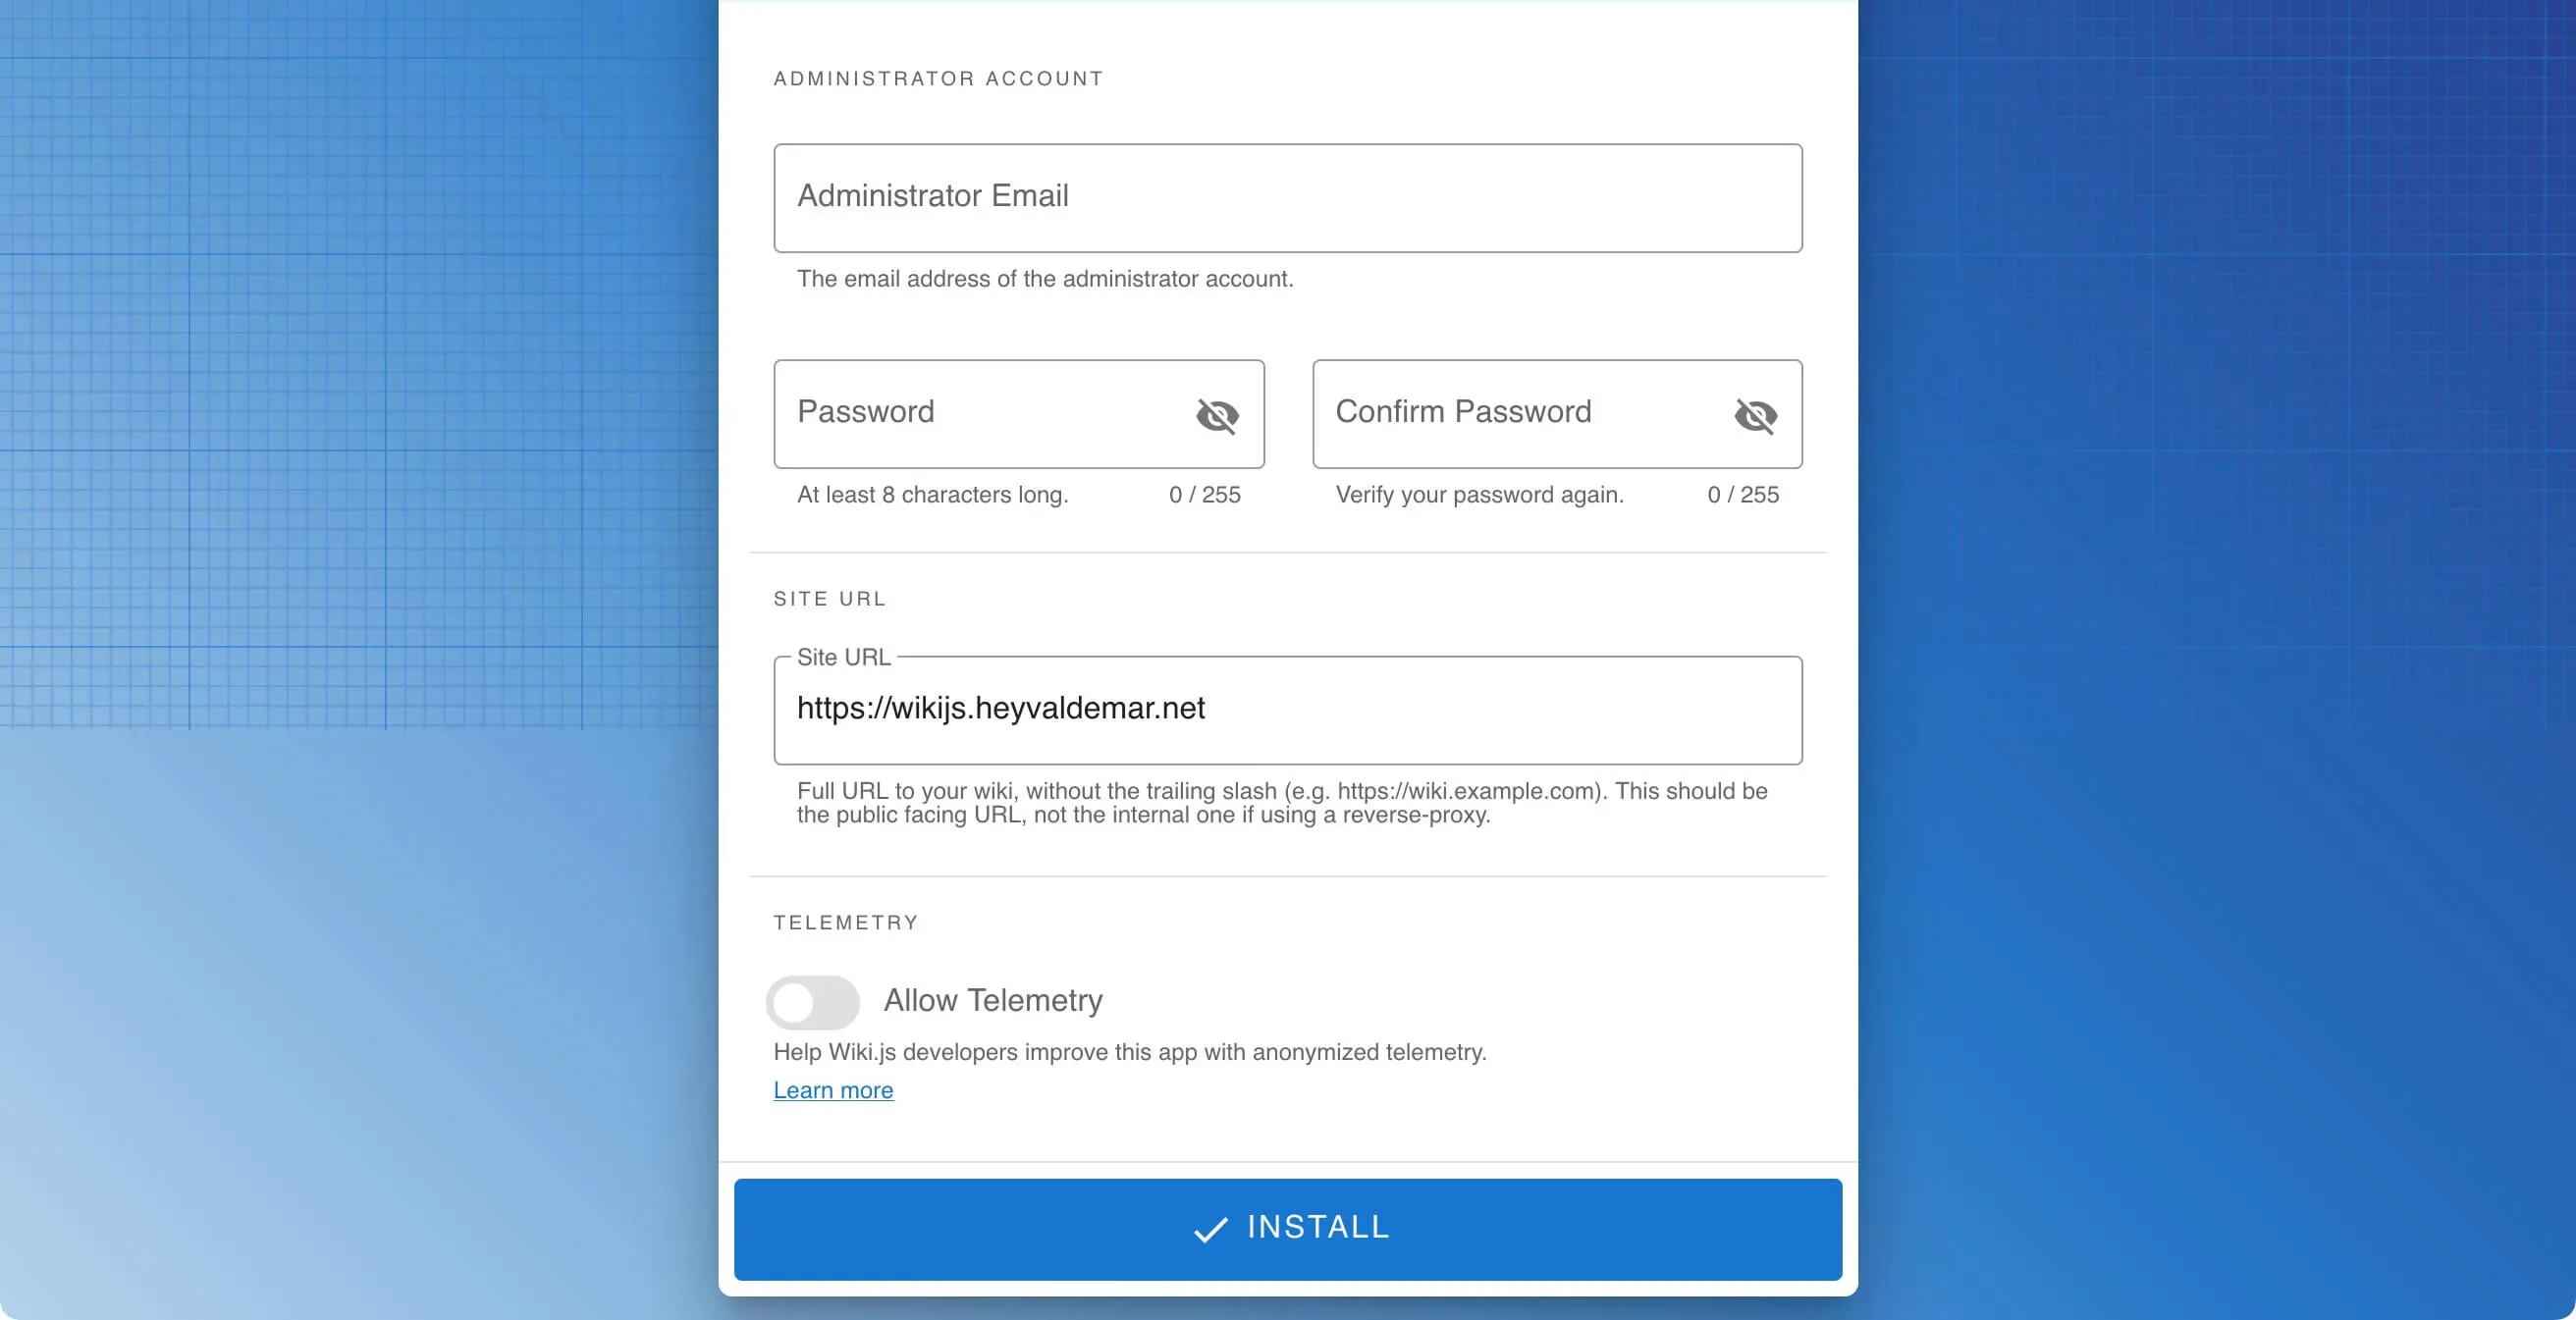
To continue the XWiki installation process, you need to go from the workstation to the link https://wikijs.heyvaldemar.net, where wikijs.heyvaldemar.net is the name of my server. Accordingly, you need to provide the name of your Wiki.js. server.
The next step is to provide: an email address and a password to create a Wiki.js administrator account.
In the “Site URL” field, specify your domain or subdomain where your Wiki.js is. will be available on the Internet.
Click on the “Install” button.
Next, specify the email address and password for the Wiki.js administrator account that was created earlier.
Click on the “Log In” button.

Welcome to the Wiki.js control panel.

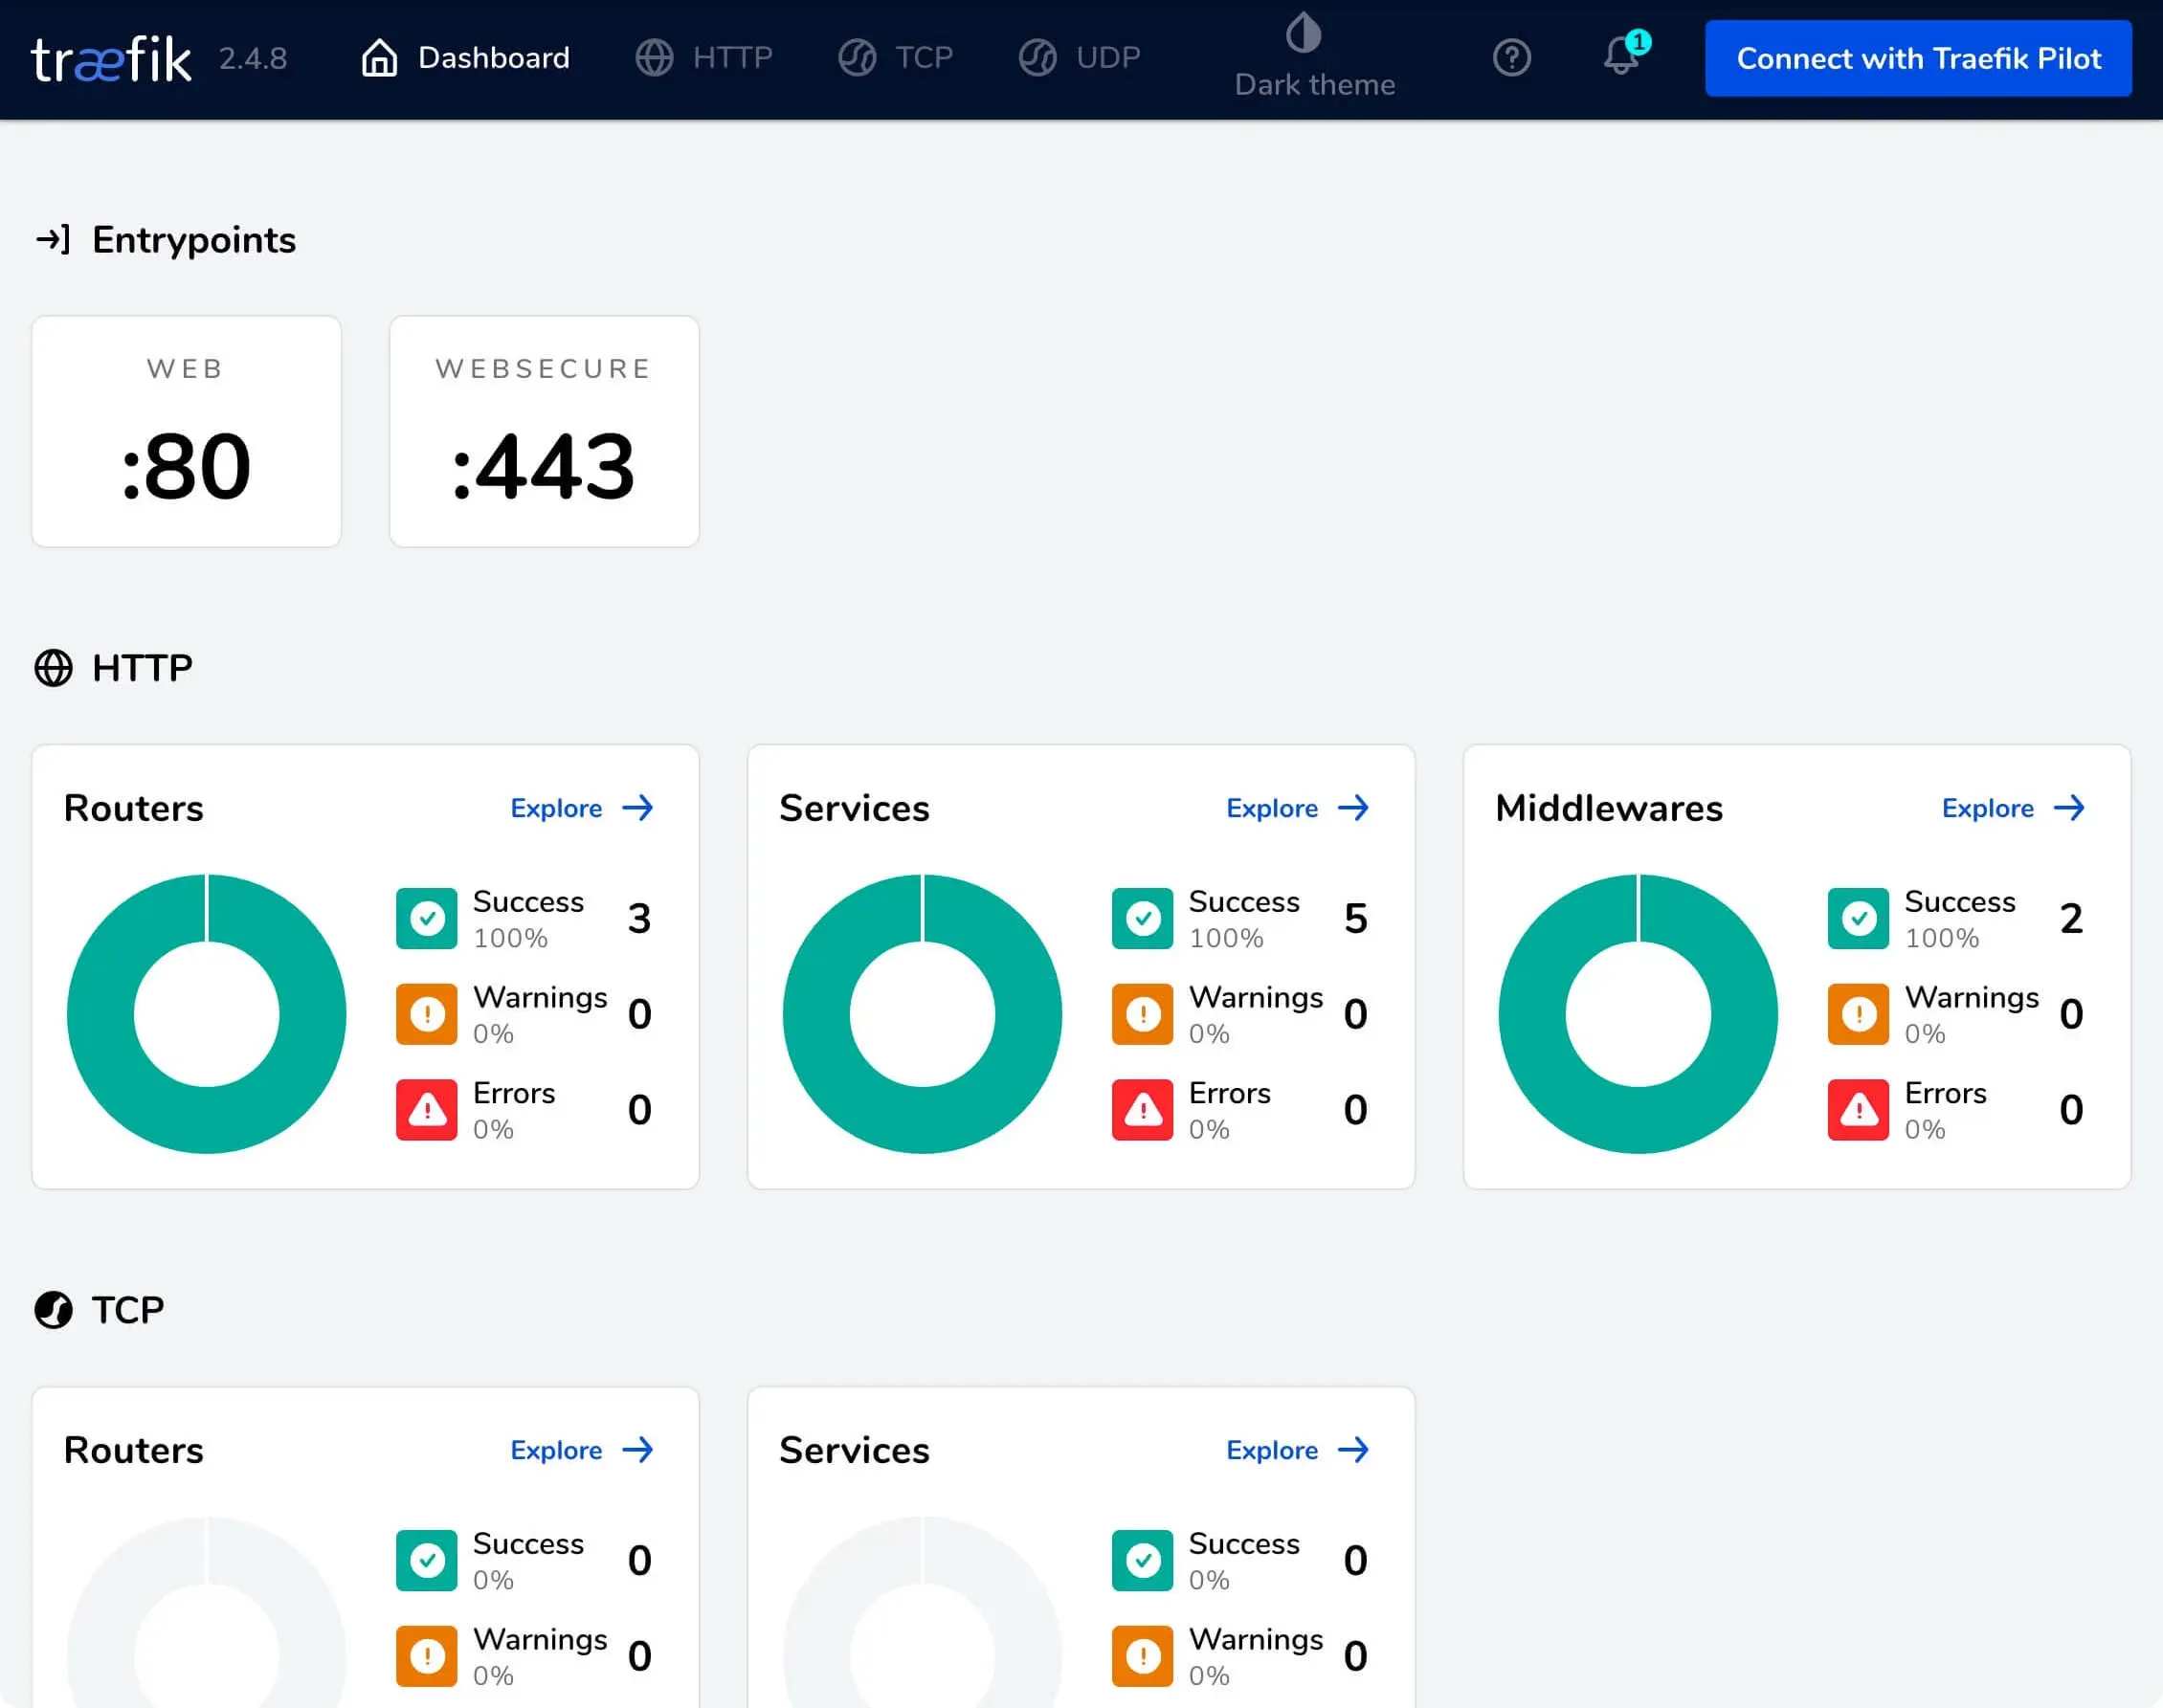
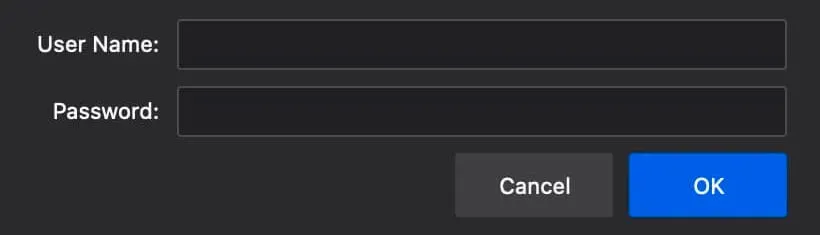
To access the Traefik control panel, go to the link https://traefik.wikijs.heyvaldemar.net from the workstation, where traefik.wikijs.heyvaldemar.net is the name of my server. Accordingly, you need to specify the name of your server with Traefik installed.
Specify the username and password specified earlier in the YAML configuration file and click on the “OK” button.
Welcome to the Traefik dashboard.